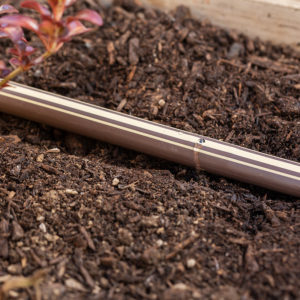
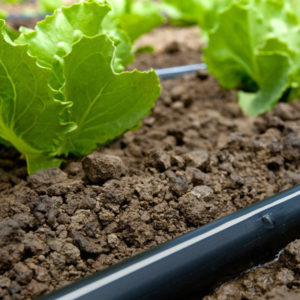
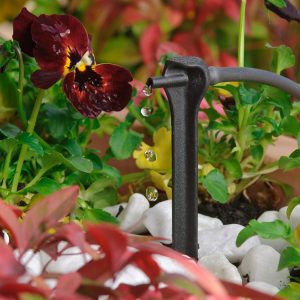
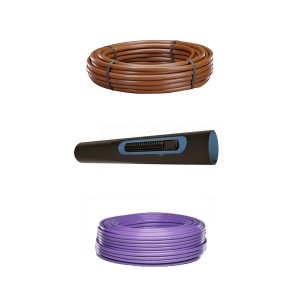
Drip Irrigation Guides
A collection of Guides for Drippers, Dripline and Drip tape irrigation. We are creating guides to help you decide which product is best for your irrigation system. We will be updating these guides to also help with installation tips and tricks, that we have learnt through our years of experience.