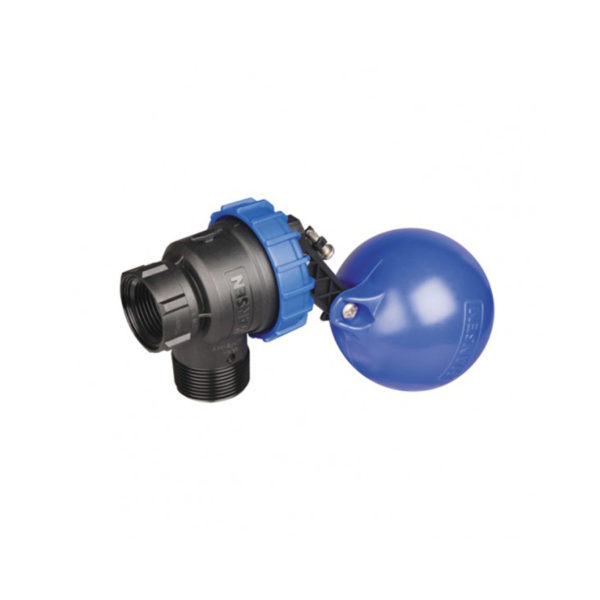
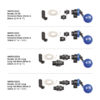
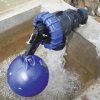
Features:
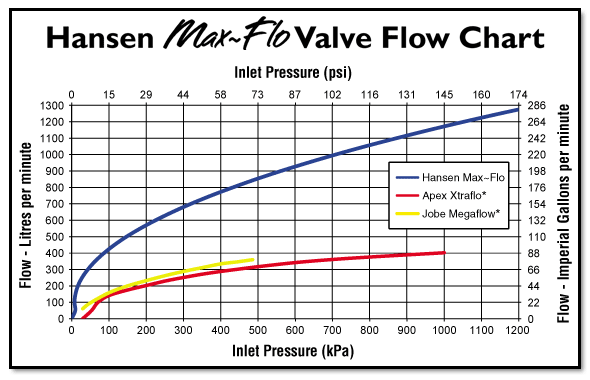
- High Performance, Cost Effective Trough/Tank Valve (29 psi, 570 l/min)
- Suitable for Side, Bottom and Top entry
- Strong Compact Design
- Delivers high volumes of water quickly with unrestricted full flow
- Patent pending* “Self Cleaning Pilot” for use in clean/dirty water
- Low operating pressure required reducing pumping costs and increasing flow
- Manufactured from strong, non corrosive UV stabilised materials
- Mini body design to enable easy installation
- Suitable for High/Low Pressure operations - from 0.2 Bar to 12 Bar
- Variable open and close action preventing valve bounce and water hammer
Overview
The Hansen Max Flo Diaphragm Valve has been designed with multiple thread and connection combinations to increase overall durability and versatility. The Patent pending “Self Cleaning Pilot” ensures the valves are durable and suitable for dirty water applications. Less operating pressure is required, reducing pumping costs and increasing flow. The mini body design allows for easy installation across a wide range of applications, and our 30 year time tested performance slow open and close Diaphragm ensures no undue stress placed on pump lines or pumps.

Trough Installation:
- Flush pipelines into water troughs before installing Valve into the new system
- Isolate the water trough to replace a valve in the existing scheme
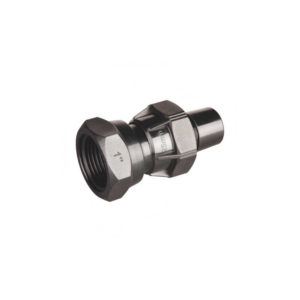
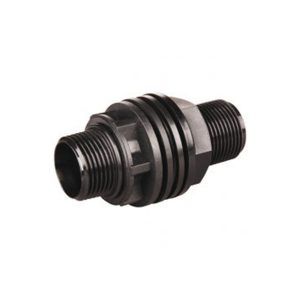
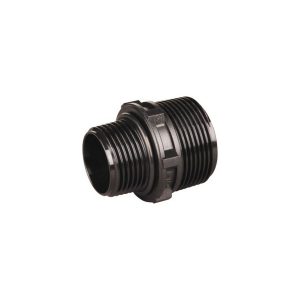
- Thread the O-Ring end of correct size male adaptor into the valve body and tighten firmly enough that the O-Ring creates a seal against the face. Do not overtighten.

Top Entry Trough:
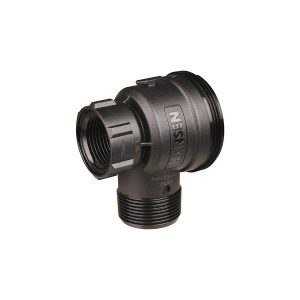
- Thread Max Flo Valve into existing trough fitting
- Determine the on/off point and water level required
- Use supplied Adjustable Extension Arm when a larger air gap/lower water level is required
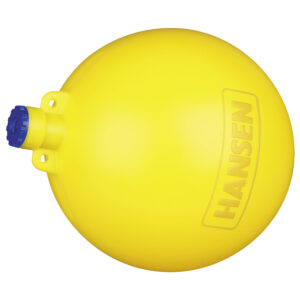
- Adjust the float and arms to suit the required angle
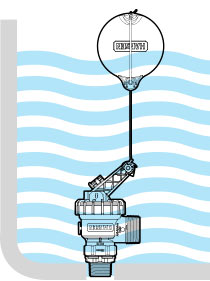
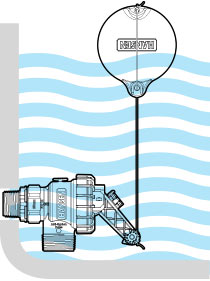
Side / Bottom Entry Trough:
- Thread Max Flo Valve into existing trough fitting
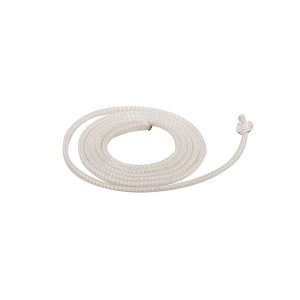
- Thread cord through the float, adjust the cord to required on/off level then tie off
Tank Installation:
- Install tank fitting into the water tank
- Flush lines into the water tank before installing Valve into the system
- Thread the O-Ring end of correct size male adaptor into the valve body and tighten firmly enough that the O-Ring creates a seal against the face. Do not over tighten
- Thread Valve into Tank Fitting inside the tank
- Thread cord through the float, adjust the cord to required on/off level then tie off.

