How to Irrigate a Lawn
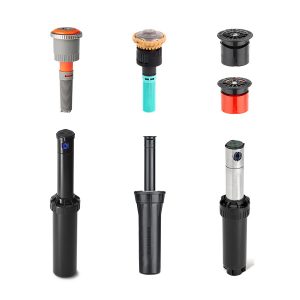
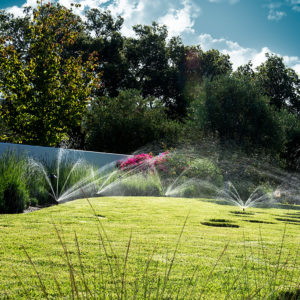
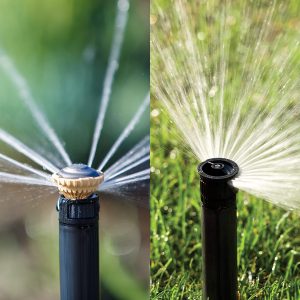
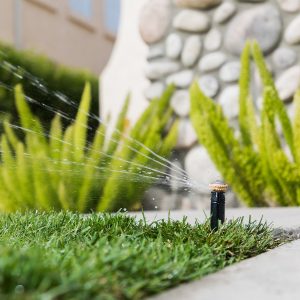
The best practice for irrigating a lawn is to use landscape pop-up sprinklers. The rotator nozzles attach to the pop-up bodies and give you the best and even coverage for your lawn. If you have a larger area to cover, you can move up to the Gear Rotor sprinklers, like the PGP Ultra. We go for pop-up sprinklers over drip irrigation because though drip is very effective, it becomes tough to see faults and make repairs.
Please have a look at our recommended products for irrigating a lawn.
Other important guides to assist you in setting up your lawn irrigation. We will be referring to these guides throughout.
Measure the Area
The first thing to do is to measure your area that you would like irrigated. This can be either a quick drawing with pen and paper, printing out a google maps image or using the software. This drawing needs to be to scale, have your water source/taps shown and any objects that may obscure the irrigation, decks, sheds, veggie garden etc.
I have created an example plan for us to work through together.


Figure out how much water is available
The test can be performed with either the bucket test or with a flow meter. The Bucket Test is an estimate and not 100% accurate. Flow meters can be expensive, though, so for us; we will do a bucket test. How we avoid inaccurate bucket tests is to use around 50% of what the total is. If the test gives you 20L/min, you will spec your irrigation to 10 L/min.
(60 / Time) x Litres
Let us say you filled your 10-litre bucket in 15 seconds.
Time = 15 (in seconds)
Litres = 10
So through the equation,
(60/15) x10 = 40
40 L/mn is the total estimate. therefore we will work off of 20 L/pm

Place the Sprinklers
Using the technical sheets provided, you can start placing the sprinklers on your plan. The tech sheets for both Rain Bird and Hunter offer you the Distances and L/min for each Nozzle Arch.
The distances, place markers on your plan where you think the different nozzles should aim for good head to head coverage.
Our goal is to cover the whole lawn area without throwing it onto the house or concrete areas. (imagine there is a fence around the property as well that we need to avoid).


For the example plan, I have used the Rain Bird R-Van Rotators and placed them where I think I can get good coverage. For educational purposes, I have added the spray areas to try and demonstrate the water coverage. Try to get as much of the lawn consistently covered as we can without throwing into the house, paths or fences. You can't be perfect with every lawn area, but the aim is to try and cover the lawn consistently and completely.


For the example below, I have removed some sprinklers from the plan to show the comparison. You can see dry patches throughout the lawn, with grass that would end up dying, leaving a patchy, ugly lawn.


A common question we get is, why so many sprinklers? Can't I just put a strip down the middle doing the whole lawn? Below you can see the disadvantage to doing that. You may save money, but your lawn will die, you'll waste water throwing into the house or on the path (if you have iron in your water, this will stain), and you'll end up having to fix the mistake later.


Have a read of the Head to Head Sprinkler Spacing Guide for more information on sprinkler spacings. Link above.
Zone the Sprinklers
Here is where it gets tricky, so if you are having troubles, call our experts on 0800 130 905
In this example, we have given ourselves 20 L/min of water to irrigate the lawn. Each sprinkler requires a certain amount of water to operate optimally. You can see this in the Tech Sheets above.
We have in our plan
- 17 x R-Van 14 - 90 Degree
- 20 x R-Van 14 - 180 Degree
- 1 x R-Van 14 - 270 Degree
- 5 x R-Van 18 - 90 Degree
- 5 x R-Van 18 - 180 Degree
- 5 x R-Van 24 - 90 Degree
- 2 x R-Van 24 - 180 Degree
- 1 x R-Van 24 - 360 Degree
R-Van 14
- 17 Nozzles x 1.06 L/min = 18.02 L/min
- 20 Nozzles x 2.12 L/min = 42.40 L/min
- 1 Nozzle x 3.18 L/min = 3.18 L/min
R-Van 18
- 5 Nozzles x 1.89 L/min = 9.45 L/min
- 5 Nozzles x 3.82 L/min = 19.1 L/min
R-Van 24
- 5 Nozzles x 2.46 L/min = 12.3 L/min
- 2 Nozzles x 4.92 L/min = 9.84 L/min
- 1 Nozzle x 9.54 L/min = 9.54 L/min
Total Water usage for all the sprinklers is 123.83 L/min
We may need to split the sprinklers into seven zones to get under the 20 L/min limit.
Let's break it down to make it easier to understand and work on the front lawn, as seen below.
Tip: It's best to use the nozzle's open flow when calculating, even when not throwing that Radius. It is normally bolded in the tech sheet.
Front Lawn
- 3 x R-Van 18 - 90 Degree @ 5m radius = 5.34 L/min
- 3 x R-Van 18 - 180 Degree @ 5m radius = 10.32 L/min
- 6 x R-Van 14 - 90 Degree @ 4m radius = 6.36 L/min
- 2 x R-Van 14 - 180 Degree @ 4m radius = 4.24 L/min
Total = 26.26 L/min
2 Zones are required as we can't run all the sprinklers at once with our 20 L/min. Think of where the pipe will go and what work easiest for you.

Zone 1 Nozzles (Red)
- 2 x R-Van 18 - 90 Degree @ 5m radius = 3.56 L/min
- 2 x R-Van 18 - 180 Degree @ 5m radius = 6.88 L/min
- 1 x R-Van 14 - 90 Degree @ 4m radius = 1.06 L/min
- 1 x R-Van 14 - 180 Degree @ 4m radius = 2.12 L/min
Total = 13.62 L/min
Zone 2 Nozzles (Blue)
- 1 x R-Van 18 - 90 Degree @ 5m radius = 1.78 L/min
- 1 x R-Van 18 - 180 Degree @ 5m radius = 3.44 L/min
- 5 x R-Van 14 - 90 Degree @ 4m radius = 5.3 L/min
- 1 x R-Van 14 - 180 Degree @ 4m radius = 2.12 L/min
Total = 12.64 L/min
Our sprinkler will now work within our range, provide room in case of spikes or shortages. I choose these zones to have the pipes not cross the middle of the lawns and keep the trenches straight lines. We would have to dig under the path to connect the sprinklers, so it was easier to zone the sprinklers close by in one zone.

Assemble the Parts & Install
The "How to Install a Pop-Up Sprinkler" guide will give you all the information you need on the installation.
The products used in the plan above are listed below. The next thing to think about is how to control the system.

-
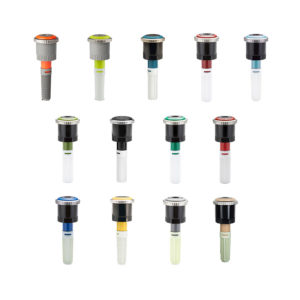
Hunter MP Rotator Sprinkler Nozzles
$21.03 Select options -
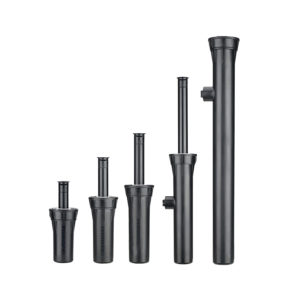
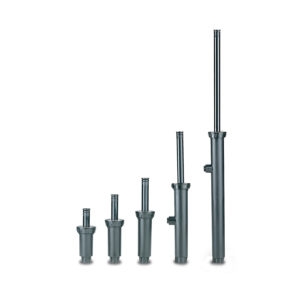
Hunter Pro Spray Pop up Sprinkler Bodies
$6.52 – $39.84 Select options -
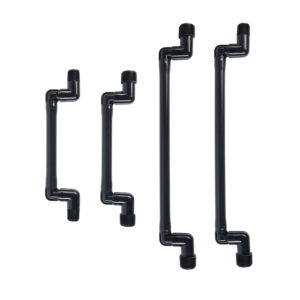
Hunter Pop-up Sprinkler Swing Joints
$6.21 – $7.76 Select options -
Rain Bird 1800 Series Pop-Up Sprinkler Bodies
$4.68 – $46.58 Select options -
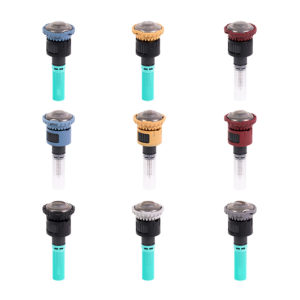
Rain Bird R-VAN Rotator Nozzles
$11.96 – $12.50 Select options